

How to use Google Analytics in WordPress
With the help of Google Analytics, a site owner can understand how their website is performing. It tracks different metrics such as traffic sources, views, conversions, and others, which can be useful to improve its performance further.
You can track:
- How much traffic your website gets?
- Where are they coming from?
- What do the visitors do on your website?
- The performance of your content.
Step 1: Install Google Analytics in WordPress
Click here to sign in to an existing account or create your own new Google Analytics account.
If you have an existing account, then skip to the next section. If not, follow these steps below.
- You need to enter your mobile number or email id associated with your Google account or create the “more options” button to create a new account.
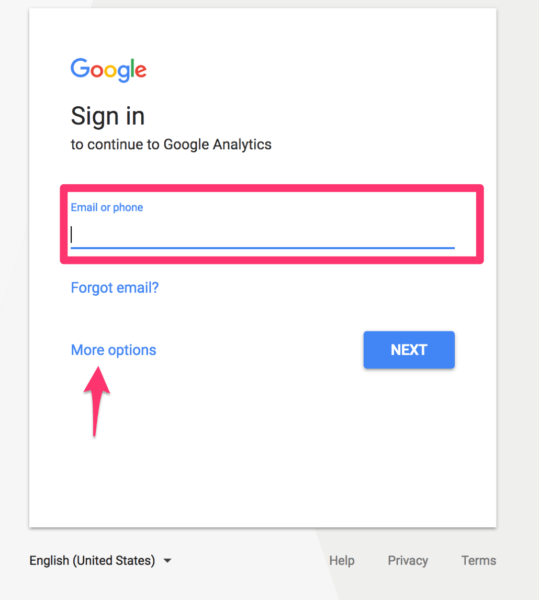
- Then hit “next” and enter your password.
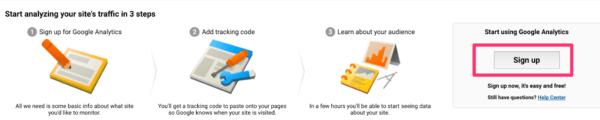
- Once you’ve successfully logged in, you’ll see a screen like the one below. This screen shows you the three-step process for adding Analytics code to your website.
- Click “sign up”
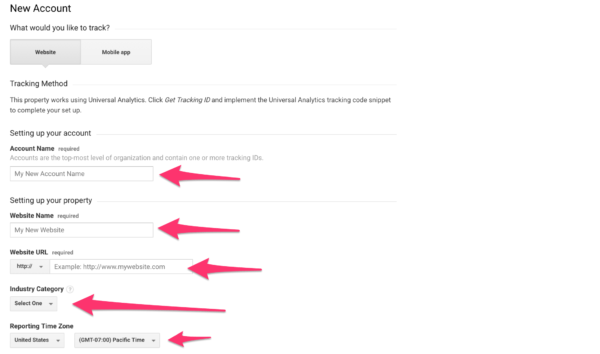
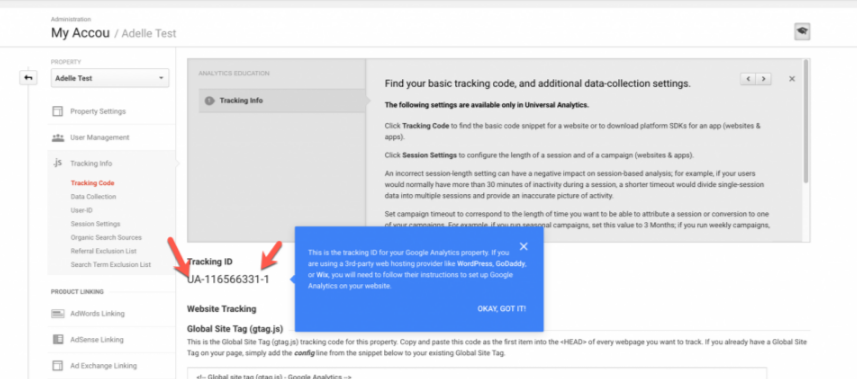
- New account holders need to enter details about their website. Giving this data to Google helps to get the tracking code so that everything can work together seamlessly. Tracking code is a unique code that you need to insert on every page of your website.
- After filling the details, click on the “get tracking ID” button.
- You’ll also be prompted to agree or disagree with the Google Analytics terms and conditions.
- Below is an image of a tracking code which you need to copy.
- Once you’ve set up your Google account, integrate it with the site. There are three ways in doing it,
- Manually
- Through a plugin.
- Using a dedicated WordPress plugin
- Manually inserting the tracking code requires more time and leaves more errors, so in this guide, we will discuss the other two methods, which is through a plugin and using a dedicated WordPress plugin.
Manually through a plugin
There are various third-party plugins that you can use to add the tracking code. As an example, we are using the plugin “Addfunc head and footer code”.
- Once you’ve installed the plugin, go to Settings-Header and footer code.
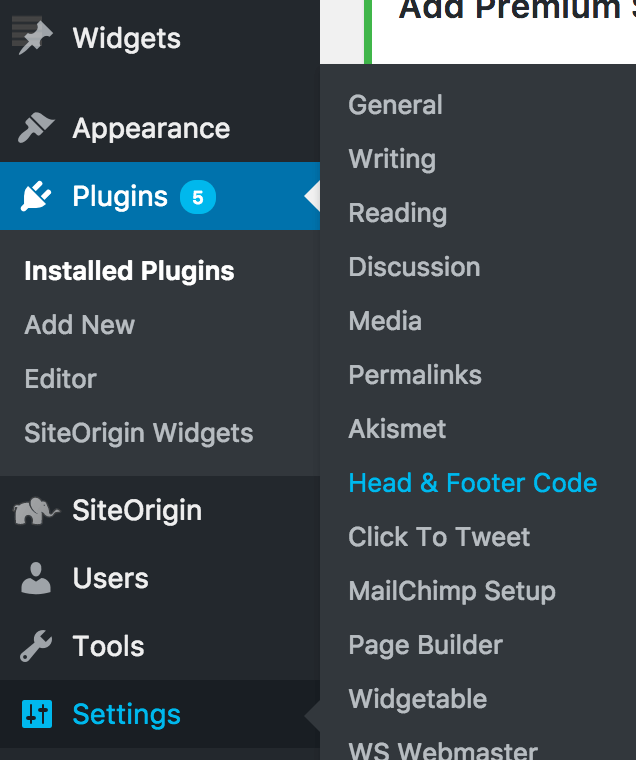
- Copy and paste the code.
- Now, click on “save changes”. It’s done and after a few minutes or hours, you can start seeing data on Google Analytics.
It may take time for your data to begin tracking. Therefore, don’t be anxious if you see no traffic on your Google Analytics account.
With the help of a WordPress plugin
The most popular Google Analytics plugin for WordPress is Monster Insights. It provides several
amazing features, and it is also very easy to set up.
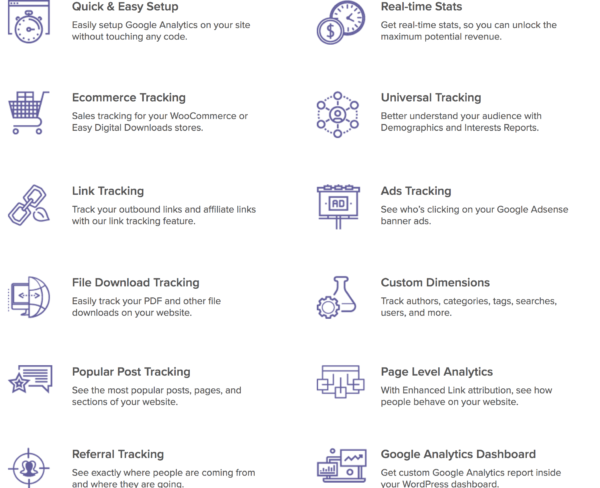
It is available for free, but it also has a paid version that has additional features.
Follow the method below to set up the plugin.
- You can upload the plugin or can add directly install from the WordPress plugins library.
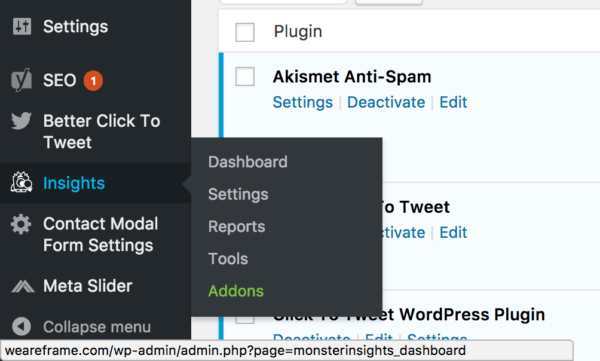
- After activating the plugin, go to the insight section on the left-hand side admin and panel in your WordPress dashboard and click “settings.”
- Click the “Authenticate with your Google account” button.

- You should then see a screen that looks like this:

- Click “next.”
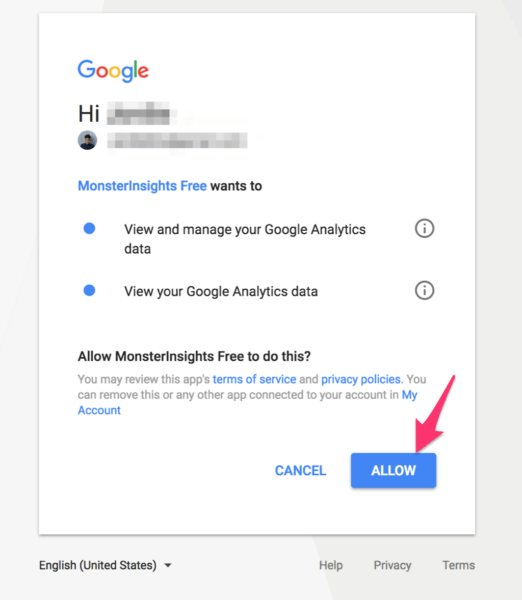
- You will need to get a unique code from Google. When you click the button, you’ll see another screen that will prompt you to sign in with your Google account.
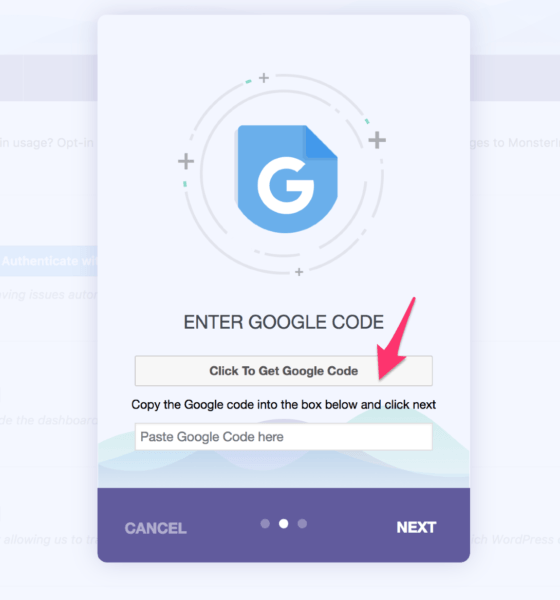
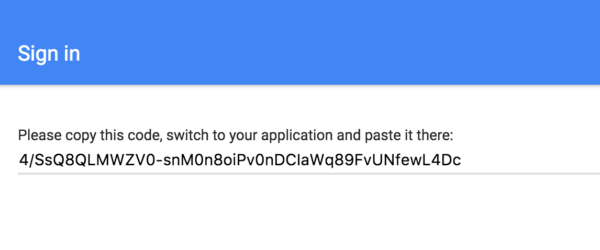
- Click allow, and you’ll be presented with a code the one below.
- Copy this code and return to the WordPress window you had open before.
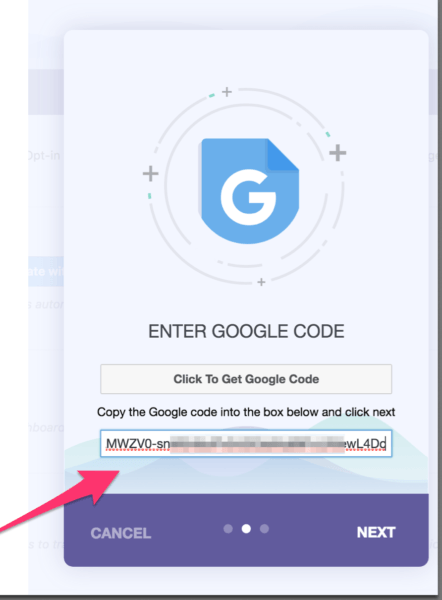
- Enter the code you copied.
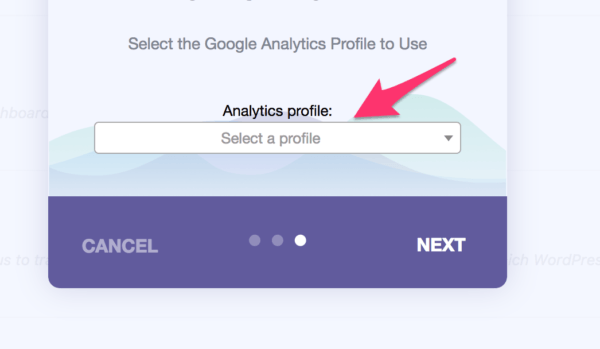
- Choose an Analytics profile. If you only have one site, ‘that’s the one that will appear.
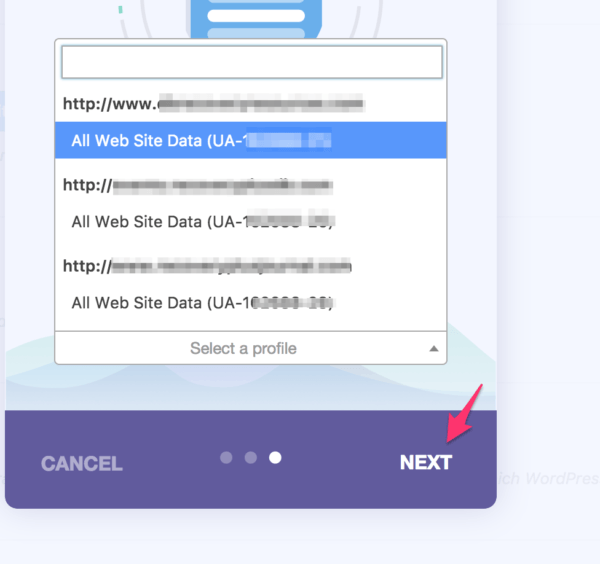
- Choose the site you want to connect your WordPress and click “next.”
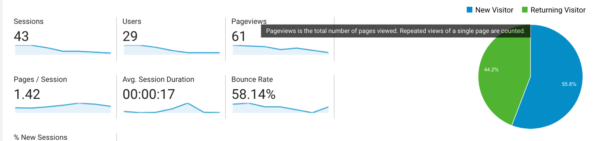
After installing Google Analytics, you need to check your website stats.
Note: If you are using a plugin for WordPress, such as Monster Insights, you can find this data within WordPress.
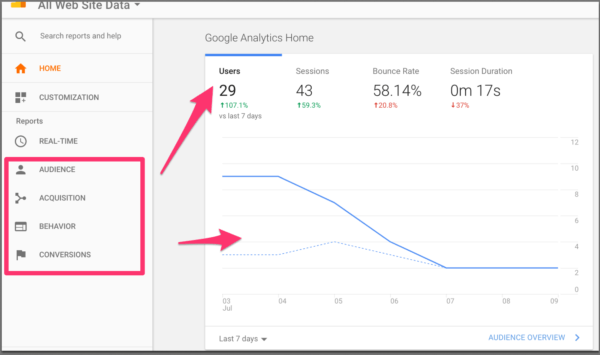
There are several reports which you can find in the analytics dashboard. Some of them include:
- Audience tab – It provides data about your visitors.
- Acquisition tab: It shows the different traffic sources.
- Behavior tab: It explains how visitors interact with your site.
- Conversation tab: It tracks your goals and shows how far you have reached in achieving them.
How to Use Google Analytics in Blogger
It is very easy and straightforward to add Analytics to a Blogger site because the process is very straightforward as both are the products of the same company.
Let’s discuss the complete process of adding Google Analytics to your blog.
Step 1: Sign Up for an Analytics account if you don’t have one
- First, visit the Google Analytics homepage.
- Then, sign in using your Google account. You can use the same account for both Analytics and Blogger.
- You can also create a new Analytics account using Sign Up.
- In the option “What would you like to track?”, select website.
- Choose the name of your account.
- Now, you need to enter the name of your site and its URL.
- Select the appropriate category of your industry.
- Choose the correct time zone so that you can get accurate reports.
- In the Data Sharing Settings, you can choose the ones which you want according to your preference.
- Click on “Get Tracking ID.”
- Now, you will be redirected to your dashboard, where you can see the tracking ID. This is the code which you have to add it to your site.
Step 2: Install Google Analytics on your Blogger website
- Visit the dashboard of your Blogger account.
- Go to Settings > Other.
- At the bottom, you can see the Google Analytics section.
- In the option “Analytics Web Property ID,” you need to paste the tracking ID.

- Now click on the Save Settings, which is present at the top of the page.
That’s it, and now Google Analytics has been integrated into your site. You might have to wait for sometime before you start seeing some stats and data.
CONCLUSION
Google Analytics is one of the most powerful free web Analytics tools at disposal. For WordPress and Blogger
site owners of all level, syncing your Analytics will enable you to improve the way you’re site performs.